Windows 10 brings new features to users using Dual Monitors making the usage of Multiple Monitors on a Windows Computer more and more productive. Yes Windows has supported using Multiple Monitors on Windows, however Windows 10 offers much easier control. You can have different Wallpaper on each Monitor, switch between PC Screen Only, Duplicate Screen on Dual or Multiple Monitors, switch to Extend Mode or even enable the usage of only Second Screen.
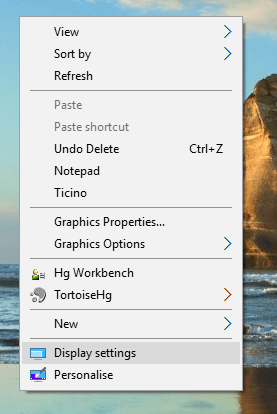
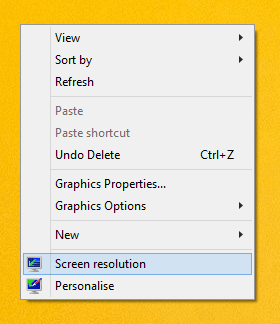
Display Settings Menu in Right Click of a Windows 10 Computer
In order to view or configure how your Windows Computer uses Multiple or Dual Monitors, Right Click on Desktop and choose the Display Settings menu. The Display Settings of Windows 10 allows you to view and configure Dual or Multiple Monitors on a Windows 10 Computer.
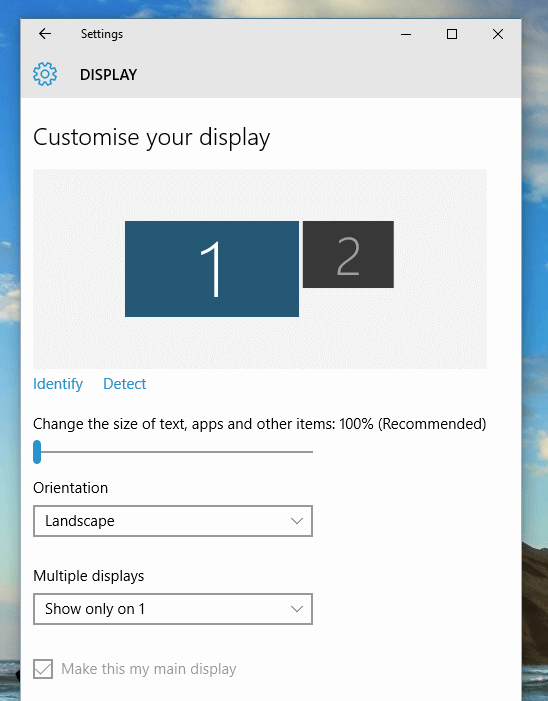
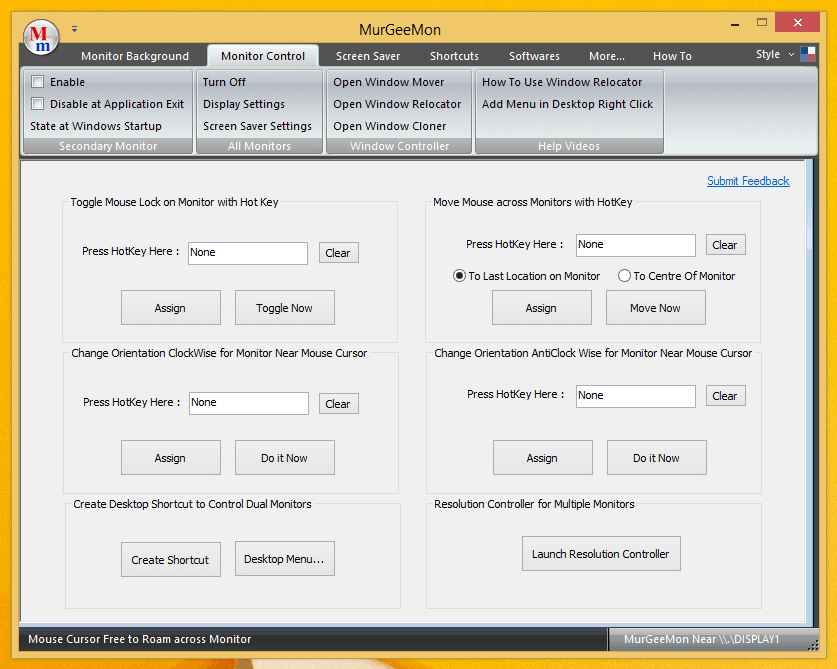
Display Settings with Dual Monitors on a Windows 10 Computer
As displayed in the screenshot above, Dual Monitors are represented by two different rectangles with the Number of Monitor available on your Windows 10 Computer. Yes even if you have connected an extra Monitor or a Projector to your Laptop running Windows 10, the Display settings is the place to look for in order to configure your Monitor or Projector.
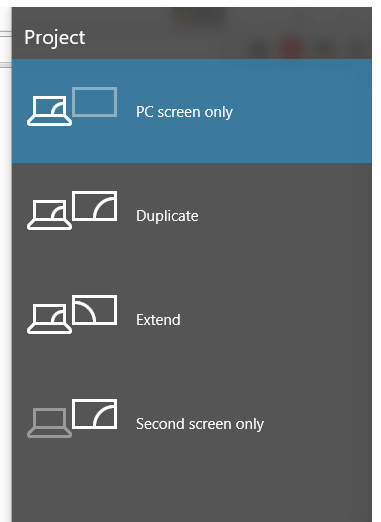
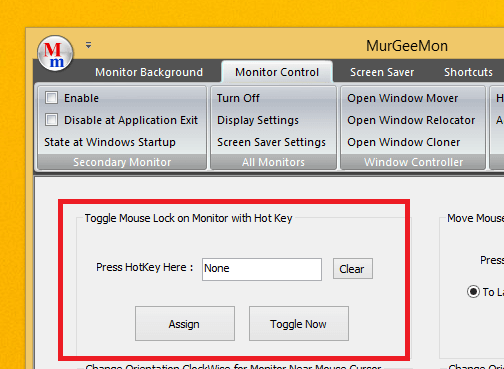
Windows Key and P Keyboard Shortcut to Control Dual or Multiple Monitors on a Windows 10 Computer
In most cases your extra Monitor should get detected automatically by Windows 10 Computer, however if your Monitor is not detected by your Windows 10 PC or Laptop, you need to make sure that all wires are connected appropriately and your extra Monitor is powered ON. The Keyboard shortcut Windows Key + P is the quickest way to view . configure multiple or Dual Monitors, although the Dual Monitor Software offers Keyboard Shortcut, System Tray Menu and Keyboard Shortcut to do various Multiple or Dual Monitor Windows Computer. Yes the software titled MurGeeMon is compatible with Windows 10 and is equally compatible with older versions of Microsoft Windows such as Windows Vista, Windows 7, Windows 8, Windows 8.1. Yes Windows 10 is definitely the choice of Operating System for people running Windows 8 or Windows 8.1.